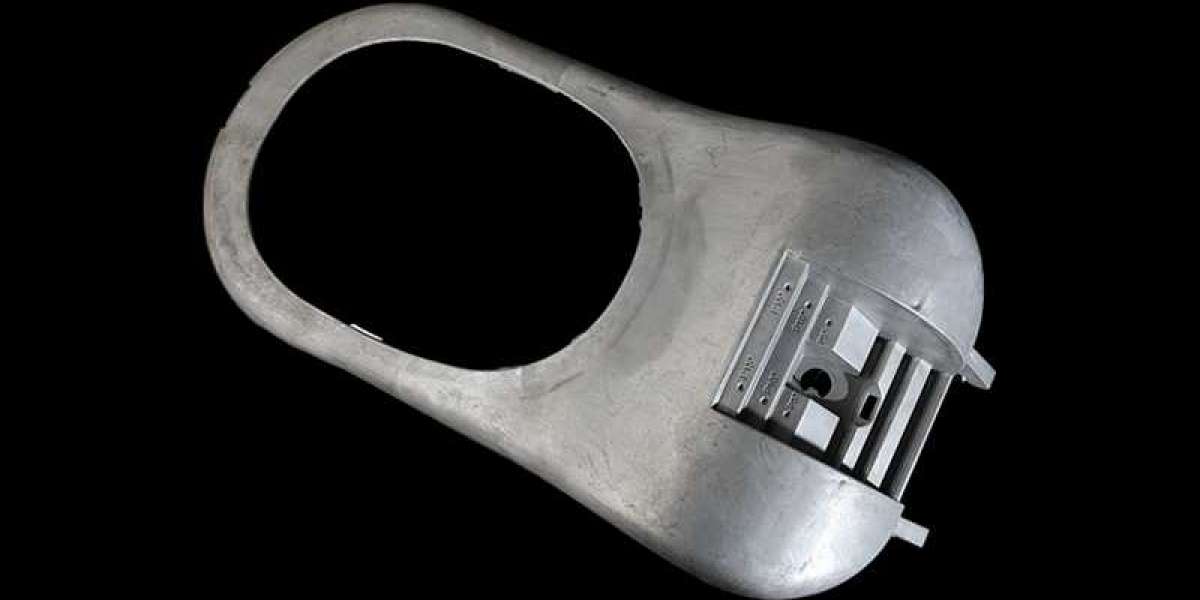
Die casting is the fastest, more cost-effective method of producing large quantities of aluminum, zinc or magnesium parts. Die castings have excellent surface finish, maintain consistent features and tolerances, and almost never waste raw materials.
Die-casting parts are used to manufacture engine blocks and engine housings, equipment parts, radiators, accessories, brackets and many other common industrial and commercial products.
If you want to develop products and consider die casting for the project, you should note that all castings must deal with pore problems. This is inevitable, but it is controllable. To mitigate the effect of porosity in the part, let's take a look at what caused it, and how to use best design practices to manage porosity to get better results.
What is porosity?
Porosity refers to the pores or voids in the originally solid cast metal parts. The pore size ranges from microscopic (micropore) to measurable larger pores of cubic millimeters or more. The cross-section of the hole is not always circular, but it can also be in the form of irregular linear cracks.
There are two main reasons for porosity: solidification shrinkage and gas porosity. Let us study the root causes of these two types more carefully, and then we propose strategies to deal with them.
Solidification shrinkage
After the molten metal is injected into the mold cavity, it begins to solidify when it contacts the relatively cold wall of the tool. This solidification will cause the metal to shrink, but the rate at which this phenomenon occurs will depend on the geometry of the mold and the type of alloy used.
The semi-liquefied part of the metal further away from the tool wall is called mud, and it is easier to form holes in this area. In addition, as the molten metal becomes solid, it may prevent liquid from passing through other locations in the mold. By preventing all features of the design from completely liquefying, pores can be formed.
Porosity
Air bags are formed in several ways. In the case of aluminum, hydrogen may fall out of the suspension and fill the gap with hydrogen.
As the cavity fills, there may still be air in the mold that has not been completely evacuated or exhausted. This trapped air is called entrainment.
Finally, other liquids may mix with molten metal during the injection process. These may be release agents, leaking hydraulic oil or even atmospheric humidity. Any of these can quickly evaporate and form bubbles. Non-evaporating liquids or oils can become contaminants and may form inclusions in the final part.
Three types of porosity
We have just studied two main causes of stomata: coagulation shrinkage and stomata. In both cases, it is possible to create holes that form one of the three main subcategories.
1. Blind hole
The hole starts at the surface of the feature and ends at a location in the metal body. These types usually do not affect the mechanical strength, but will cause corrosion.
These holes can be sealed after casting, especially if the part needs to maintain pressure, such as in a hydraulic cylinder.
2. Through the pores
The holes start from the surface and form channels throughout the feature, all the way to the opposite wall. This can cause leakage and requires sealing from both sides.
3. Completely closed pores
These holes are present in the metal body and they will not be exposed to the outside unless later infiltrated during post-processing. The presence of these holes is usually not obvious unless the part is scanned by computer tomography (CT) after casting, or the part is cut open for diagnostic reasons.
Tolerance of porosity
The porosity usually averages 5% of the total volume of the part. Eliminating voids is not a realistic practice, but to ensure that voids are included in those areas that do not impair the function or appearance of the part.
Therefore, when generating design drawings or CAD files, these areas should be clearly specified, with a set of allowable defect specifications and tolerances, just like dimensional tolerances. The specification of porosity usually takes the form of: the number of pores in a given volume; the maximum allowable size of each pore; and the percentage of the total volume of each part.
The manufacturer will then use this information to fine-tune the molding parameters. This will mean that porosity is allowed in less critical areas, while porosity is avoided in other areas. These factors always need to be weighed, so it is best to consider them at the beginning of the project.
Diagnostic tool for porosity analysis
Modeling software now exists to help product designers and manufacturers predict where porosity is most likely to occur. These models are based on precise analysis of many molding parameters, such as filling, mold profile, wall thickness, holding time, temperature, alloy composition, etc.
Using this information, product engineers can improve their mold design accordingly, and molders can optimize their settings in advance without having to rely on expensive and time-consuming trials and errors.
Tool design techniques for preventing porosity
Some tools should be used to design best practices to help prevent the most common causes of porosity.
Wall thickness
problem
By far, the most common cause of porosity is uneven cooling of parts inside the cavity, which is a function of wall thickness changes.
solution
The simplest and most convenient way to prevent this is to maintain a consistent wall thickness where possible. That is the job of the mold designer. Many other important considerations, such as the design of bosses, ribs, gussets, and other features, are similar to plastic injection molding.
Shrinkage problem
The shrinkage rate is affected by the melting temperature, cooling time and cooling temperature of the alloy. In the case of aluminum, which is by far the most common die-casting material, the addition of silicon can significantly reduce shrinkage, but only within a certain percentage of alloy. Too much silicon can adversely affect the mechanical properties of the alloy.
solution
It is best for product developers to work closely with the die casting machine to discuss the choice of raw materials based on the application and design.
train with problems
Completely removing entrained air from the mold is a challenge, especially for complex shapes with many internal features that may trap air.
solution
There are some strategies for mitigating air entrainment. One is to improve the mold design to ensure that there are no sharp corners or pockets that prevent air from escaping. In addition, more ventilation holes can be added, or the design of the door/runner system can be optimized to allow air to escape.
Changing the injection speed and pressure may help venting, but may adversely affect the parts in other ways, so care must be taken.
Final reminder
Finally, casting can be carried out in an environment filled with argon or other inert gas. In this case, it is best to discuss this process with the manufacturer early in the design process.
After the casting is completed, a method must be found to accurately measure the porosity in the finished part.
Porosity measurement technology
New technologies have been developed to help manufacturers to identify and measure porosity with conventional methods such as visual inspection, pressure testing or destructive testing. One of the most promising technologies is computed tomography or CT.
In this process, multiple high-power X-ray photographs are taken from the part and then combined to create a 3D map of the inside of the part. This can be used for real-time process control and creating computer simulations to help optimize mold design. CT is becoming powerful and reliable enough to be a true metrology-level measuring instrument, not just a diagnostic tool.
How does machining affect porosity?
The skin of the die-casting is the most thermally stable area. It is the first cured part with almost no pores in the first 0.5mm or more. Since holes will appear in the deeper parts of the casting, machining processes such as threaded holes and threaded holes may open closed holes. Some castings must be able to maintain air or liquid pressure, for example for hydraulic cylinders or manifolds, so these holes need to be sealed after processing.
Vacuum impregnation sealing hole
In industry, vacuum impregnation is usually applied to the surface of die castings to effectively seal them. This is usually a three-step process:
Place the part in the chamber and use vacuum to remove air remaining in the microwells.
A sealant such as liquid polymer resin is then placed in the chamber and pressed into the micropores under positive air pressure.
After impregnation, the parts are removed from the chamber and the sealant is fully cured. This is considered a one-time permanent surface treatment.
Does die casting provide you with a solution?
Jiaxing Yunhe Trading Co., Ltd. is a professional Motorcycle parts factory in China. Production and supply of zinc-aluminum die castings, hardware accessories, lamps, motorcycle accessories suppliers, motorcycle accessories. We produce more than 500 major products, 30% of which are exported to the United States, Japan, Australia, Europe, etc. Welcome to consult and order: https://www.xinxinmetal.com/


